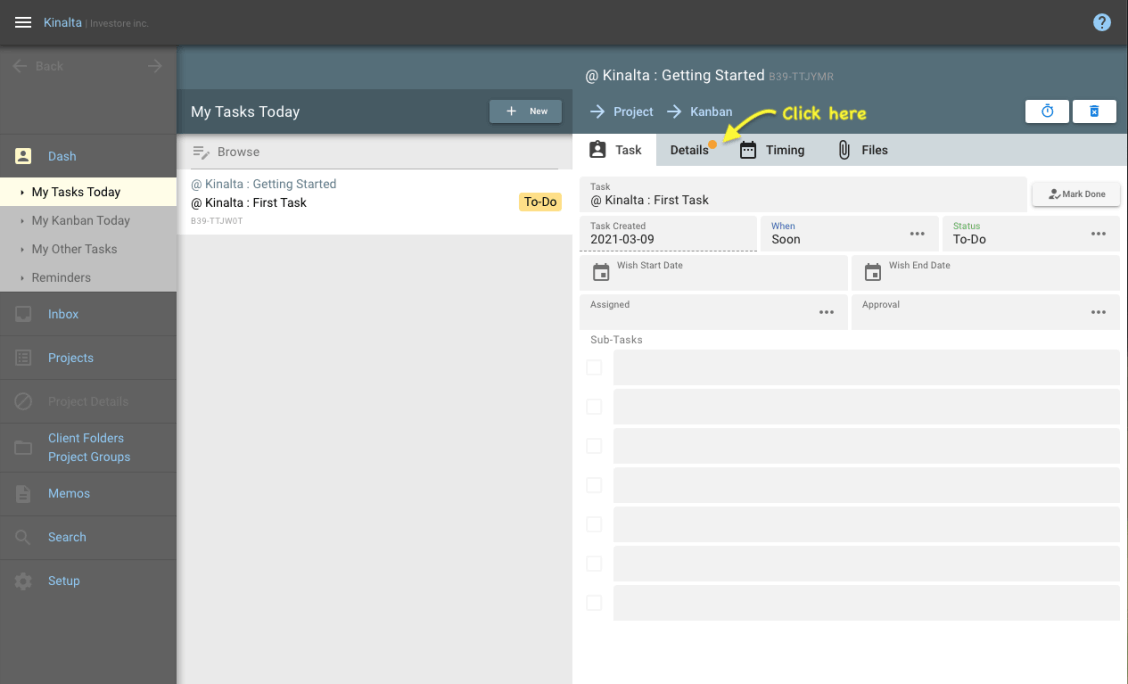
Getting started with Kinalta

Welcome, this is a a quick guide that will give you an idea of what should you expect when you start using Kinalta.

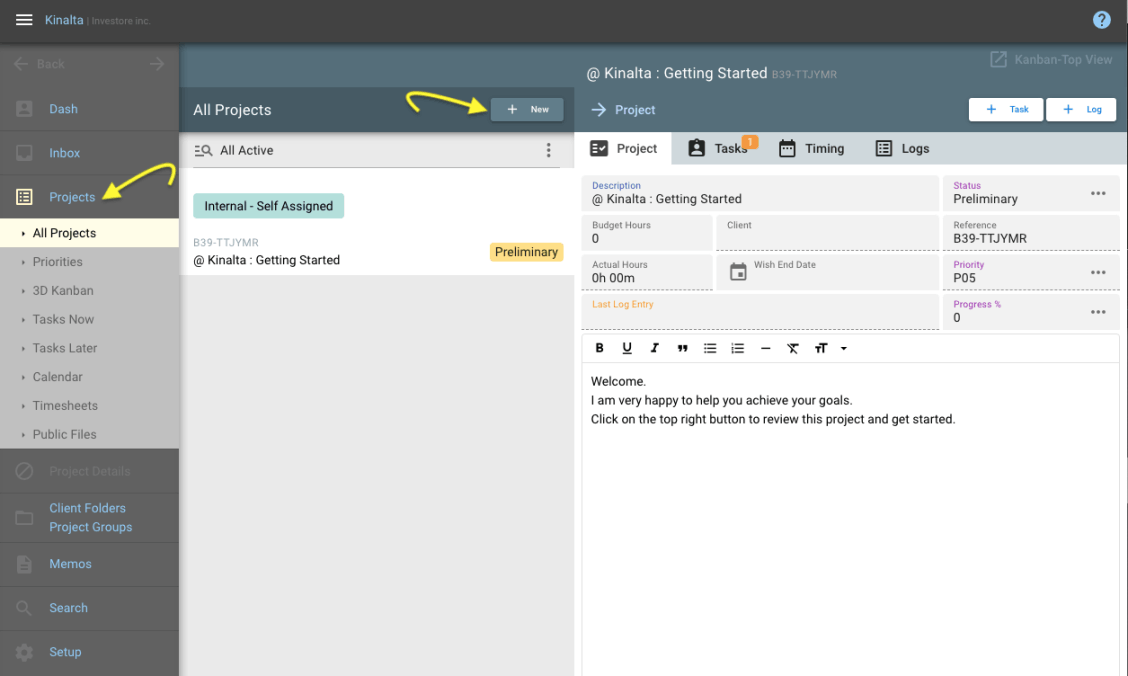
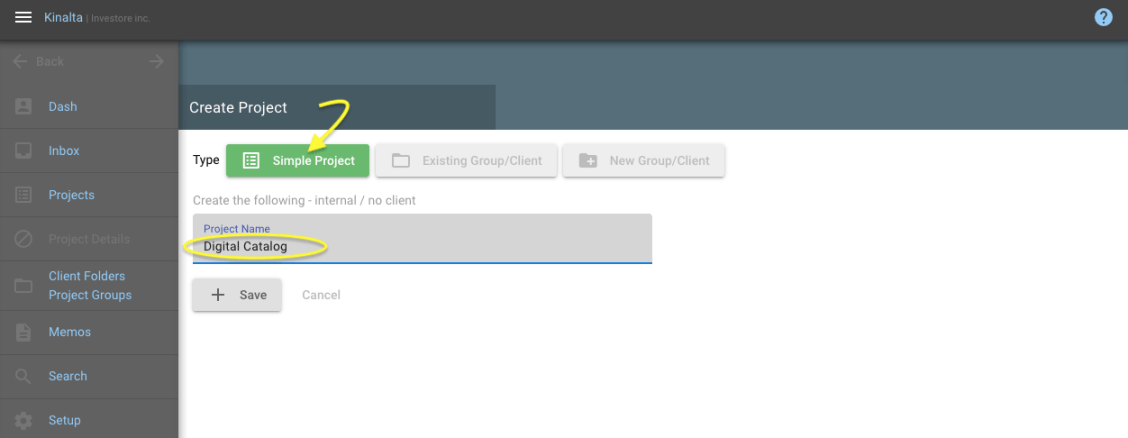
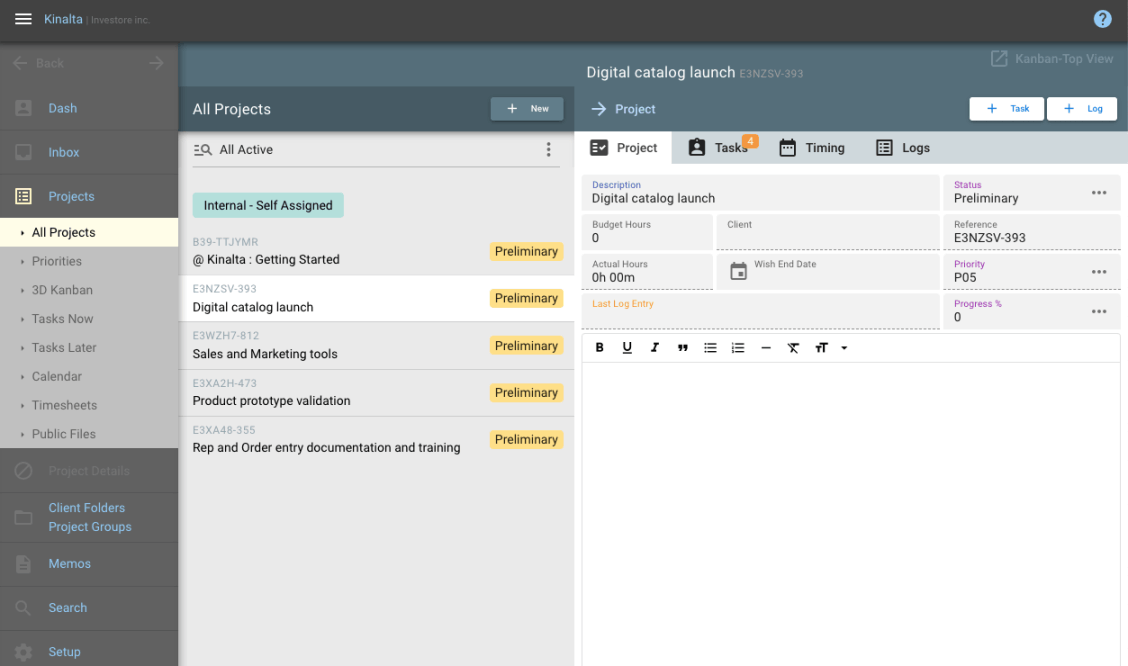
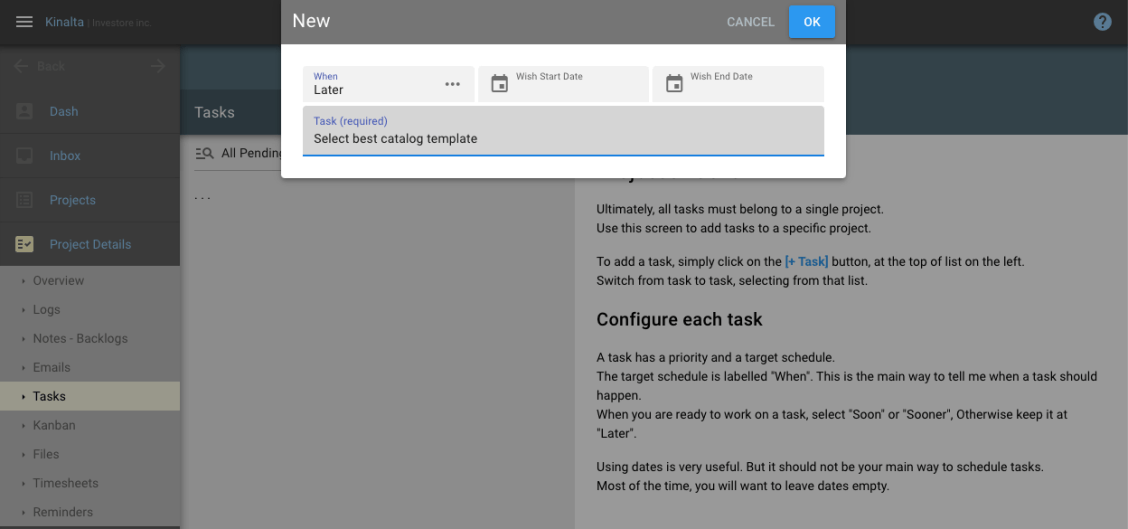
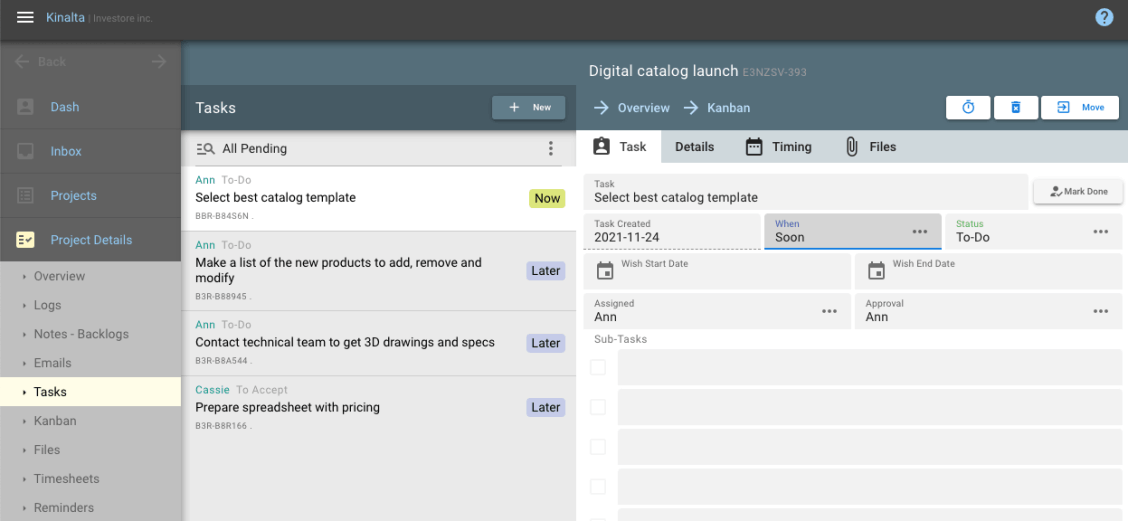
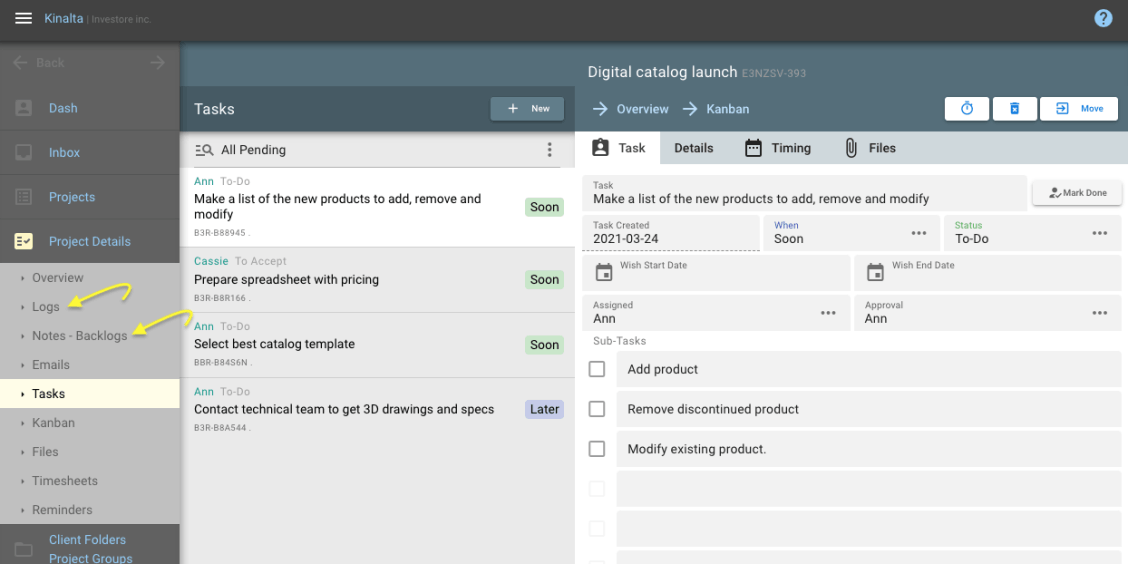
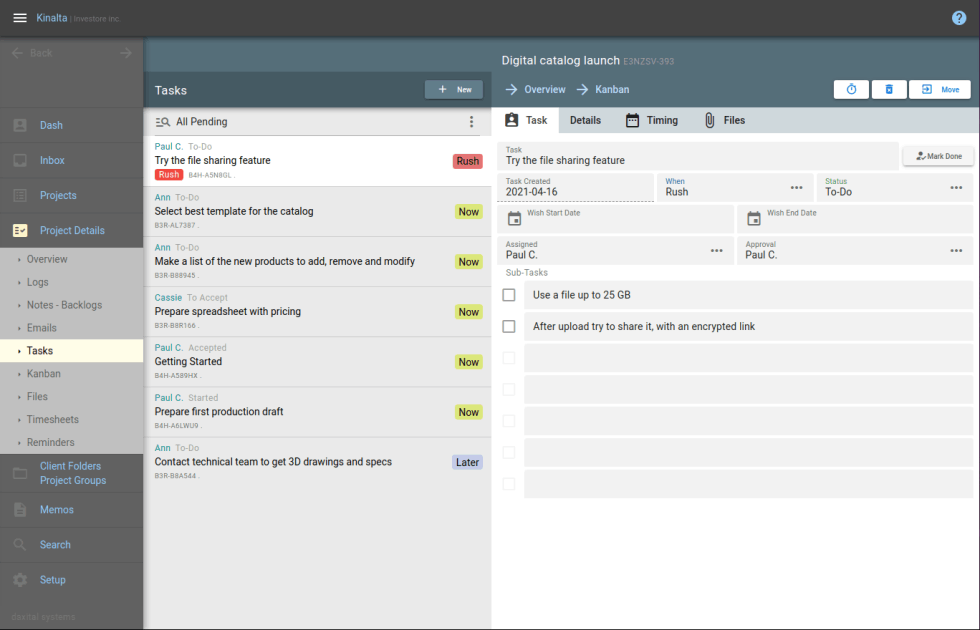
Kinalta is an Agile, Lean, project management app, with:
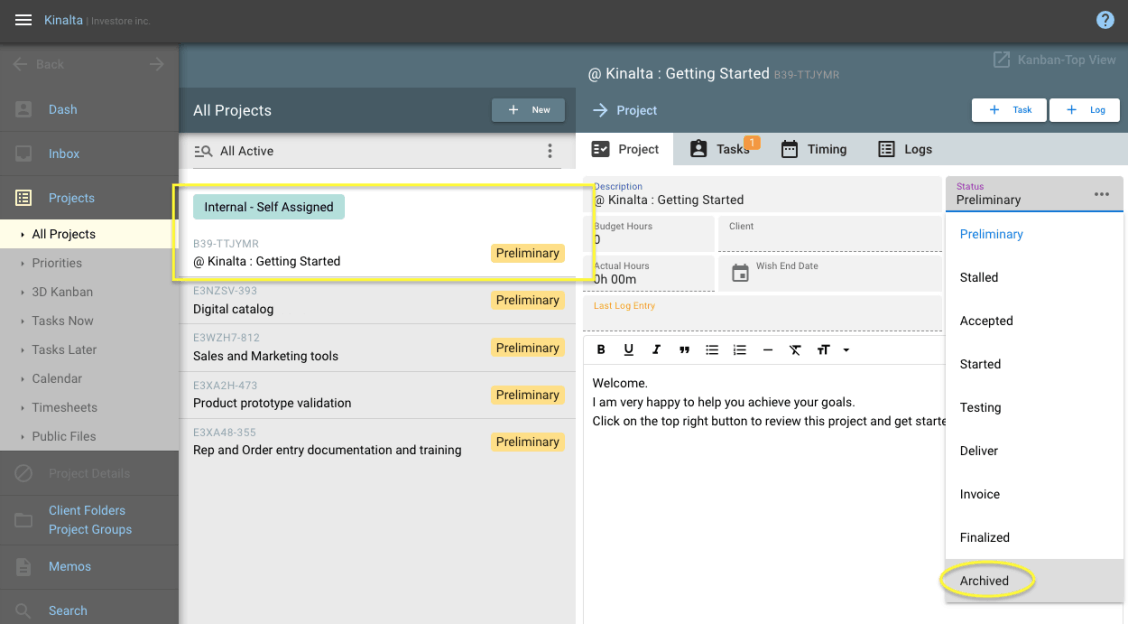
Project and Task priorities
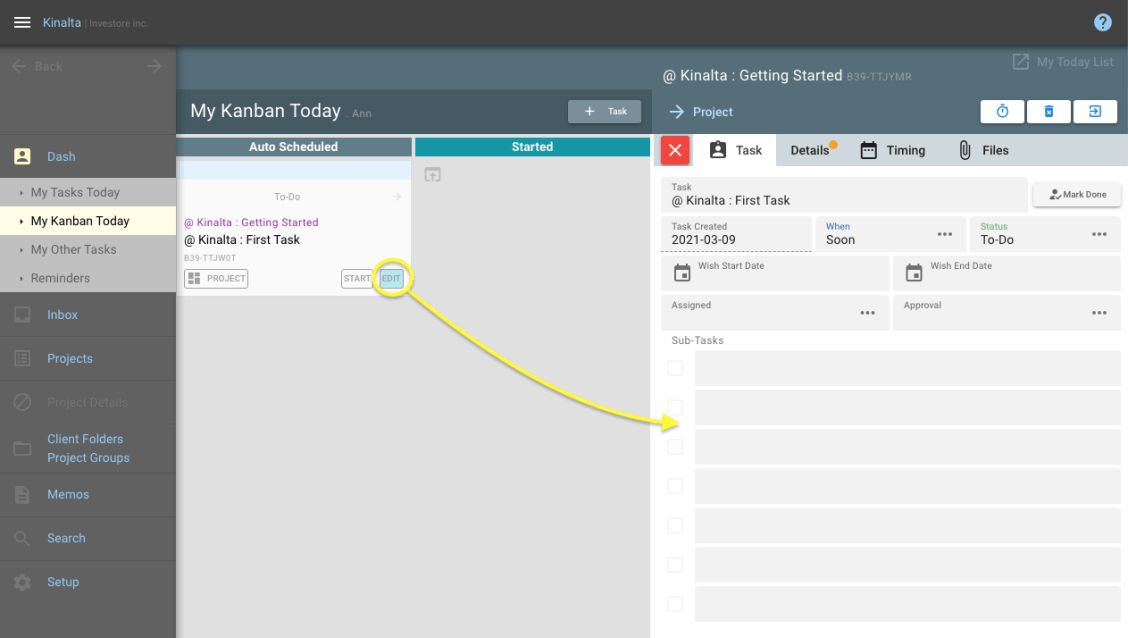
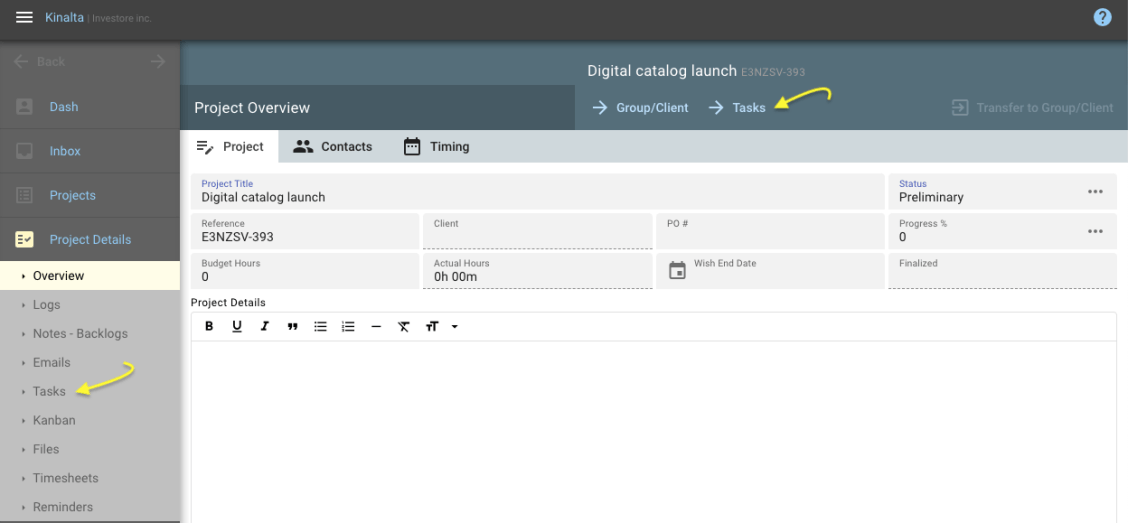
Multi-level Kanban view
Email you can attach to projects
File sharing and document management
Memos, Notes and Logs

Part 1

kinalta

My Tasks Today

When you access Kinalta for the first time, the first thing you will see is your personal Dash.
Depending on the mode you selected, Kanban or list mode in the Setup screen, you will see My Kanban Today or My Tasks Today.
My Task Today

This is one of the most important screen, the one you can always come back to during the day when you want to know what to do next.
This is where Kinalta puts the tasks that are assigned to you. It's your own dashboard. The tasks can be assigned from another team member or by yourself.

When you access Kinalta for the first time you will see a task called : @Kinalta : First task.
This task is there to help you visualize what the Dash looks like with at least one task in it.
On the right, you have a panel where you can add Sub-Tasks.
You can also add details by clicking on the Details tab.
There are two other tabs we will explore later but go ahead and click on the Details tab to see the details of what Kinalta has assigned you!

Prefer a Kanban view?

kinalta

My Kanban Today

If you prefer to see your tasks in Kanban mode you can click on My Kanban Today.
To get familiar with how the task-cards work, go ahead and try the following things:
Drag and drop the card into the different columns. Started, Test/Deliver and Done/Finalized.
Don't worry you can't go wrong!! Simply drag and drop it back to Auto Scheduled when you are done testing it.
The Edit button on the card opens a panel on the right that shows the task's information and Sub-Tasks panel.

Part 2

kinalta

Create a project

For the rest of this "getting started" we will follow Ann, a product specialist, and the first steps she is taking to organize her different projects. This will illustrate how she can achieve her goal to coordinate the launch of a new line of product for the company she works for.

Her main challenge is coordinating and following up on the different activities for the launch.
For each of these activities, there are a lot of moving parts she needs to track.
To help with this challenge Ann decided to create one project for each type of activities.
- Digital catalog.
- Sales and marketing tools.
- Product prototype validation.
- Rep and Order entry documentation and training.

To create the first project in her list she clicks on Projects in the left bar menu. This will open the Projects Menu.
The first option All projects that is selected is where she needs to go to add a new project.
She does that by clicking on + New at the top of the middle pane.

Click + New at the top of list of projects

kinalta

Specify a project name

The screen changes to show the Create Project dialog.
At the top, in the Type choices, she selects Simple Project.
The other types can be used to regroup projects under a Group/Client.

Group/Client are useful to organize projects under a client or regroup them for other reasons.
For example Ann could have created a Group/Client named "Launch April 2021" to regroup her different projects.

After selecting the Type, she enters the name of her first project : "Digital catalog" and clicks on Save.

Creating more projects

kinalta

Starting to look right

She repeats the process to add the 3 other projects :
- Sales and marketing tools.
- Product prototype validation.
- Rep and Order entry documentation and training.

Her projects are now all created!

What if we do not want the default demo project

kinalta

Archiving projects

Ann does not need the default @Kinalta:Getting Started project.
However, projects can never be deleted. Instead, she Archives it, so that it is out of sight.
This removes it from the list of active projects but she can always access it with all its tasks, notes and files attached to it.

To do this she selects @Kinalta:Getting Started in the list and changes its Status to Archived.

In Kinalta, you never delete a project. It is too important, every other record and data are attached to projects. Archiving will hide a project so it does not bother you, once you are done with it.

Part 3

Kinalta

Add tasks to projects

The next step Ann does is to add the following tasks to her Digital catalog project.
- Select best catalog template
- Make a list of the new products to add, remove and modify
- Contact technical team to get 3D drawings and specs
- Prepare a spreadsheet with pricing

To do this, while still in the Projects she selects Digital catalog in the list, then clicks on the --> Project button to enter it.

Once in a project, select the Tasks menu

Kinalta

Project Details

This is the very important group of menu actions where you can define and edit your projects. 
You only get to "project details" from another screen where there is shortcut to Project (an arrow with the word Project next to it).

Click Tasks

From the Tasks panel

Kinalta

Describe the new task

To add the first task in her list she clicks on the +New button and enters the description "Select catalog template" in the pop up window.

After a few more tasks created

Kinalta

Tasks

Tasks is where you might spend most of your time.
You can assign them to people, specify status and progression.
Other guides will cover in more details what you can do.

Part 4

Kinalta

Notes and Logs

While still in the first project, Ann also uses:
- Logs to keep a record of what is happening during the project.
- Notes - Backlogs to document information relevant for the project.

These are a very important tools to collaborate as a team. They both have a time stamp and the name of the team member who entered them. 

Adding a new log

Kinalta

Log

Adding a new log is very similar to adding a new task, she clicks on Logs in the left bar menu and clicks on the + Log button.
In the pop up window she enters the Log description and clicks on OK to create it. Once created she can enter the content in the window on the right.

Tips and Tricks - Star option
Because she knows this log is particularly important, she checks the Star option, on the right, to tag it.
This is a cool trick, because after a while when there is a long list of logs, she will be able to filter the list to only see the ones tagged with a Star.

Notes work exactly the same ways.

About

© Copyright 2023 Daxital systems
All Rights Reserved
Kinalta™ is a trademark of Daxital
GDPR compliant - terms - privacy policy